In the world of high-end headwear, the difference between a floppy, amateur garment and a crisp, retail-ready accessory often lies in an invisible layer: the interfacing. For those asking what interfacing to use for a bucket hat, the answer isn't a single product, but a strategic application of textile stabilizers designed to reinforce specific anatomical regions of the hat. Without the proper internal architecture, even the most expensive heavy-weight canvas will eventually succumb to gravity, losing the iconic silhouette that defines a premium bucket hat.
The difference between a floppy, homemade craft and a structured, retail-ready accessory often lies in what is hidden beneath the surface. While fabric provides the aesthetic, interfacing provides the architectural integrity necessary for a professional bucket hat construction blueprint to hold its three-dimensional shape. Understanding the interplay between "fusible mass" and "fabric drape" is the first step in ensuring your brim maintains a crisp, level silhouette without feeling like rigid cardboard. At happyoff.com, we treat interfacing not as an optional addition, but as a critical engineering component that transforms standard textiles into durable, high-performance headwear.
While many hobbyists view interfacing as an optional step, professional makers treat it as a structural requirement. The happyoff.com PDF pattern is engineered with these structural needs in mind, providing specific layouts for interfacing that ensure the crown maintains its volume while the brim achieves the perfect "snap." By starting with a precision-engineered blueprint, you ensure that your choice of stabilizer works in harmony with the pattern’s geometry, rather than fighting against it.
Table of Contents:
- Woven vs. Non-Woven Fusibles: Choosing Your Foundation
- Heavy-Weight Stabilizers: Engineering the Iconic Brim
- Troubleshooting Bubble Interfacing: Avoiding Delamination
-
The HappyOff Advantage: Why Architecture Matters
Woven vs. Non-Woven Fusibles: Choosing Your Foundation

Choosing the best interfacing for hat brims requires understanding the difference between woven and non-woven fusibles. Woven interfacing offers superior drape and "memory," moving with the fabric’s grain, while non-woven stabilizers provide rigid, paper-like support. For a professional-grade bucket hat, woven fusibles are preferred for the crown to maintain a natural, flexible shape.
When selecting fusible stabilizer types, the "hand" or feel of the finished product is determined by the internal structure of the interfacing itself. Non-woven interfacing is created by bonding fibers together chemically or thermally. It is cost-effective and provides a stiff, uniform surface, but it lacks "directional give." In a bucket hat, using a heavy non-woven stabilizer in the crown can lead to a stiff, helmet-like appearance that lacks the sophisticated slouch of a high-end designer piece.
Conversely, woven interfacing is essentially a secondary layer of fabric with a heat-activated adhesive on one side. Because it has a grainline just like your fashion fabric, it integrates seamlessly into the garment. When you use the happyoff.com PDF pattern, the technical instructions often recommend aligning the woven interfacing grainline with the fabric's grainline. This synergy ensures that the hat can be folded, packed into a bag, and "popped" back into shape without developing permanent creases or structural fatigue. For the professional maker, woven fusible is the gold standard for maintaining the textile's natural integrity while adding necessary density.
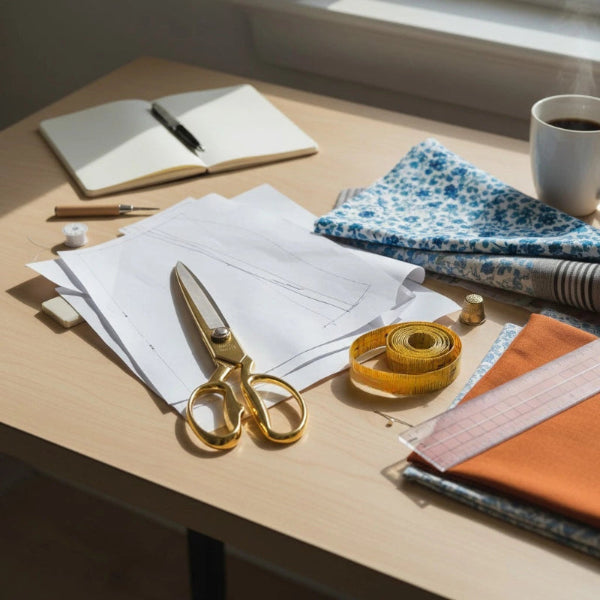
To ensure your interfacing aligns perfectly with your fabric, use a precision-cut digital pattern that eliminates the uneven edges common with hand-drafted templates.
Heavy-Weight Stabilizers: Engineering the Iconic Brim
For maximum durability, heavy-weight stabilizers such as buckram or high-density firm fusibles are essential for brim construction. These materials provide the "industrial snap" found in tactical and high-fashion headwear. The happyoff.com PDF pattern provides exact measurements for brim stabilizers, ensuring they provide rigidity without interfering with the perimeter topstitching.
The brim is the most technically demanding part of a bucket hat. It must be rigid enough to shield the eyes and hold its shape against wind, yet flexible enough to be comfortable. This is where heavy-weight stabilizers come into play. Many makers mistakenly use the same interfacing for the entire hat, resulting in a brim that is too weak. A professional-grade build typically utilizes a "double-stabilization" technique: a medium-weight woven for the crown and a dedicated heavy-weight or "firm" fusible for the brim.
When applying these stabilizers, precision is paramount. If the interfacing extends too far into the seam allowance, the resulting bulk makes it impossible to achieve a clean, sharp edge when the hat is turned. The happyoff.com PDF pattern solves this by providing "interfacing-only" templates that are slightly smaller than the fabric pieces. This "setback" ensures that the stabilizer reinforces the visible area of the brim while leaving the seam allowances clear for easy, high-speed sewing. This level of technical foresight is what separates a premium pattern from a generic one, allowing you to use industrial-strength stabilizers without breaking your sewing machine needle.
Achieving that signature, non-floppy silhouette requires a deep understanding of Brim Engineering, where the goal is to create a composite layer that balances flexibility with 'snap.' The success of your stabilizer depends entirely on its compatibility with your outer shell; therefore, consulting a specialized Fabric Guide is essential to ensure the adhesive bond is strong enough to withstand the high-density topstitching required for professional headwear. By matching the right weight of woven fusible to your specific textile whether it’s a rugged 10oz canvas or a refined twill and using the happyoff.com PDF pattern, you create an architectural foundation that ensures your hat maintains its designer shape through years of daily wear.
Troubleshooting Bubble Interfacing: Avoiding Delamination

"Bubbling" occurs when the adhesive on fusible stabilizer types fails to bond correctly, often due to improper heat, pressure, or moisture during the fusing process. To prevent this, professional makers use a "press and hold" technique rather than a sliding motion. The happyoff.com PDF pattern includes a technical guide on heat settings to ensure a permanent, bubble-free bond.
There is nothing that ruins a professional sewing project faster than delamination, the dreaded "bubbling" effect where the interfacing pulls away from the fabric after the first wash or a day in the sun. This is a common failure point for those learning what interfacing to use for a bucket hat. It usually happens because the maker treated the iron like a traditional press, sliding it back and forth. This sliding motion shifts the glue while it is in a liquid state, creating uneven patches.
To achieve a professional bond:
-
The "Stamp" Method: Place the iron down with significant downward pressure for 10–15 seconds, lift it entirely, and move to the next section.
-
The Cooling Phase: Never move the fabric while it is still hot. The adhesive needs to "set" as it cools to create a permanent chemical bond.
-
Steam Control: Some stabilizers require a damp press cloth, while others require bone-dry heat.
The happyoff.com blueprints take the guesswork out of this process by recommending specific interfacing brands and weights that have been pre-tested for their bonding resilience. By following these technical specifications, you avoid the frustration of a "bubbly" brim and ensure your headwear maintains its showroom quality through years of wear.
The HappyOff Advantage: Why Architecture Matters
In technical sewing, we often say that the fabric is the skin, but the interfacing is the skeleton. A hat without a skeleton is just a limp piece of cloth. By understanding the nuances of woven vs. non-woven materials and mastering the application of heavy-weight stabilizers, you elevate your craft from hobbyist to professional.
The happyoff.com PDF pattern isn't just a set of shapes; it is a comprehensive guide to garment architecture. It respects the physics of headwear, ensuring that every piece of interfacing you cut is optimized for the final fit. When you combine high-quality stabilizers with a world-class pattern, the result is a bucket hat that stands up to scrutiny and stands up on its own.
Mastering the selection and application of stabilizers is what separates a hobbyist from a professional maker. Once you understand which weights of woven fusible to pair with your specific canvas or twill, you are ready to tackle more complex builds with confidence. Download our advanced bucket hat sewing guide at happyoff.com to access CAD-perfect patterns that include specific instructions for interfacing placement and "stay-stitching" techniques. By starting with a HappyOff foundation, you ensure that every layer of your hat from the decorative shell to the structural interior is mathematically aligned for a bespoke, designer-quality finish.
Build a hat that holds its shape. [Buy the Professional PDF Pattern]